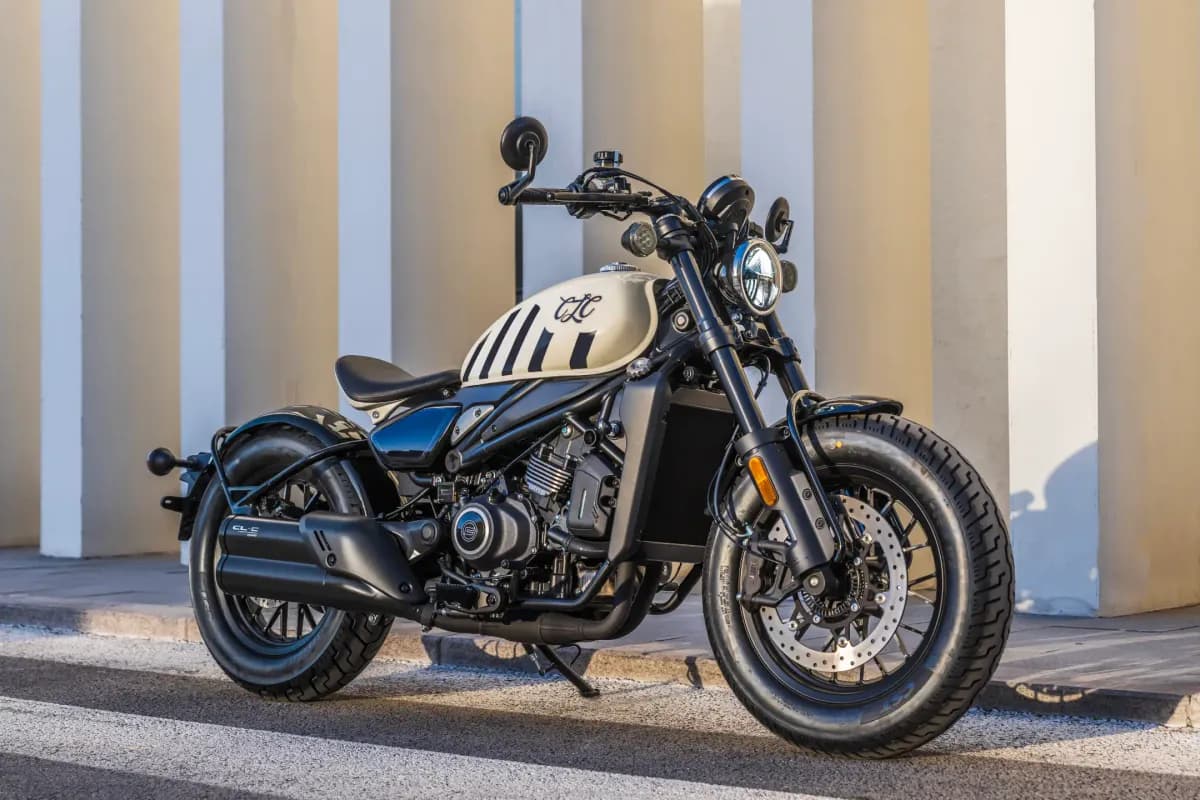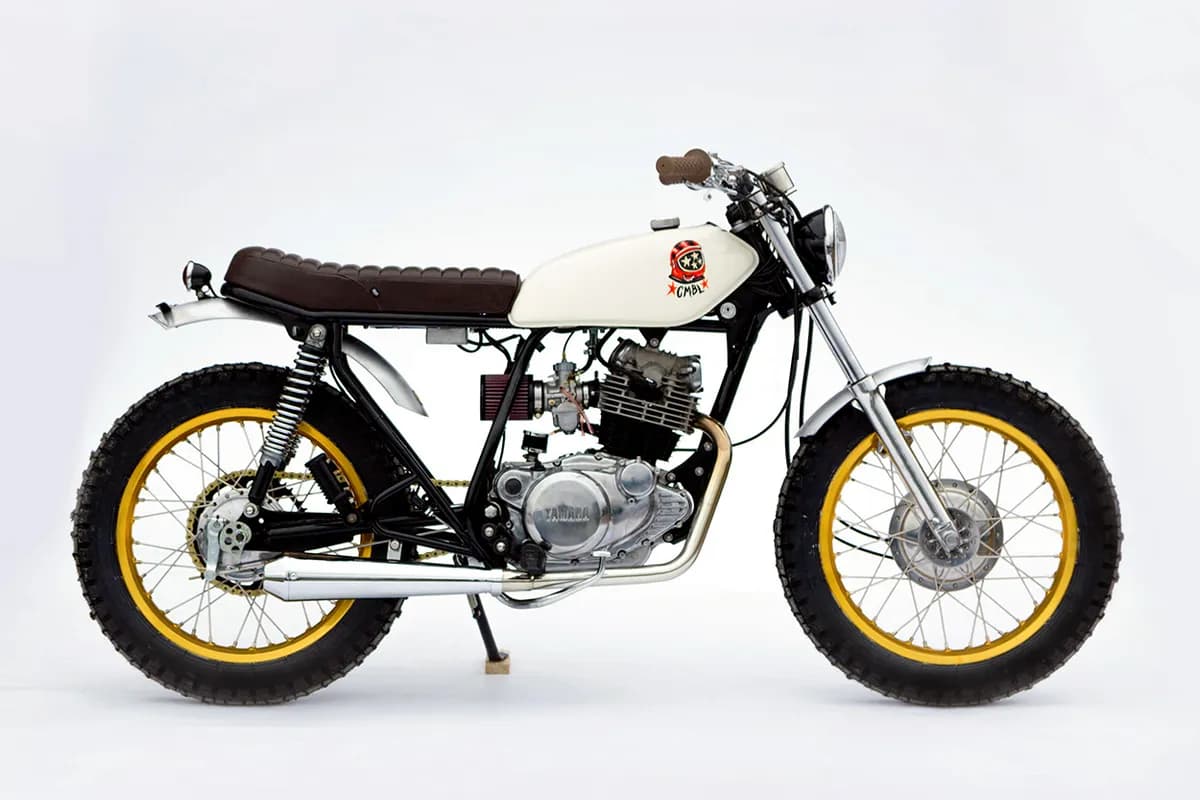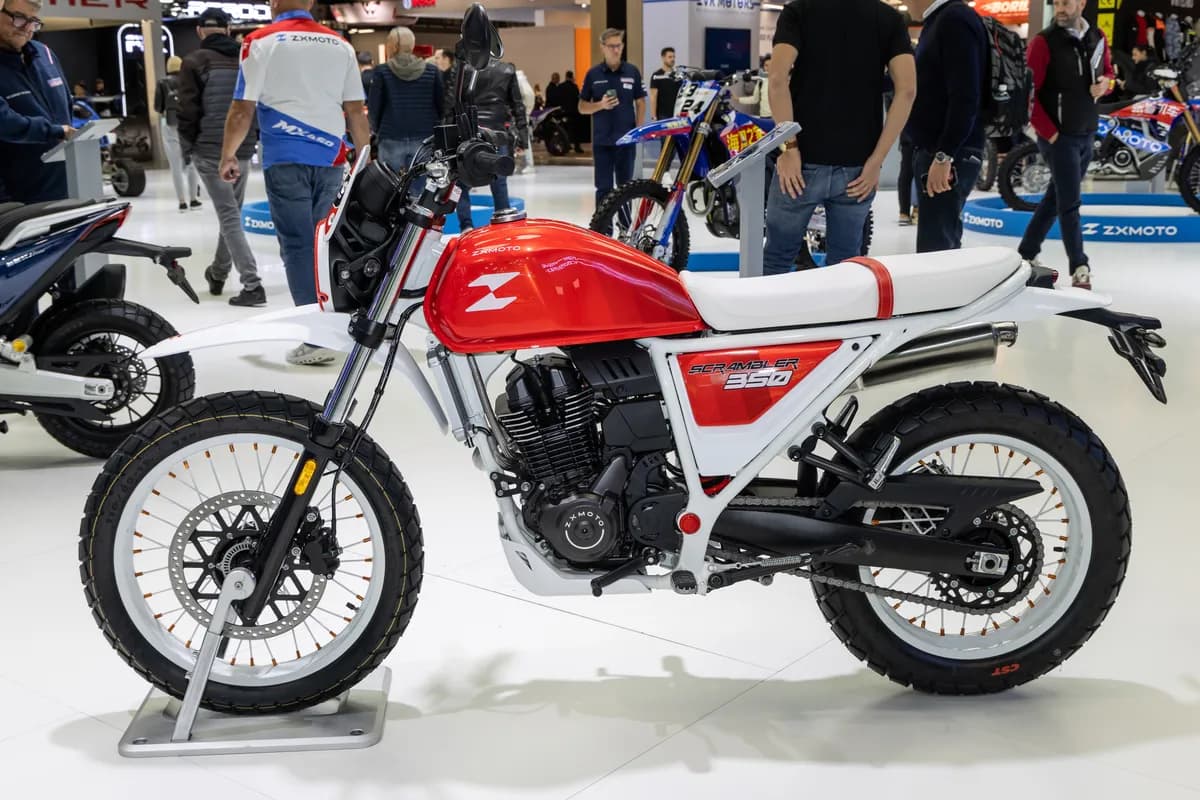
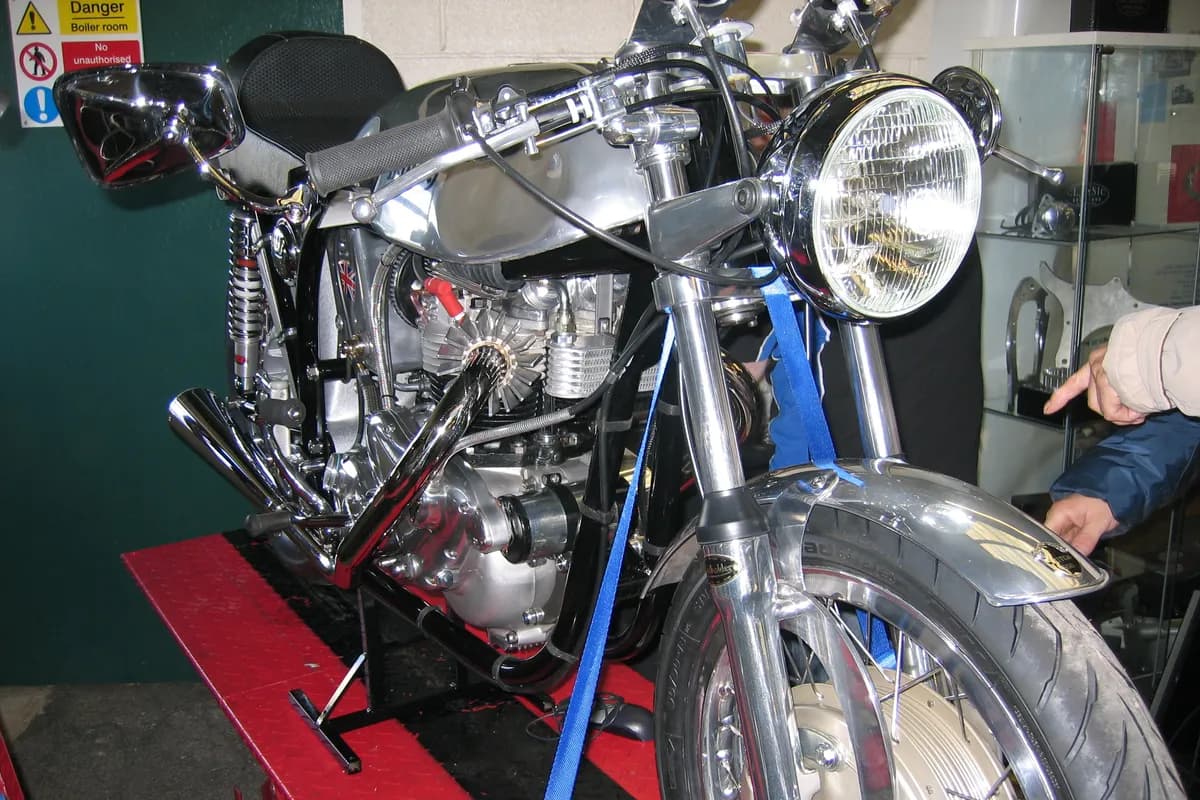
Dreaming of building your own cafe racer but not sure where to start? It is one of the best projects a rider can take on: a bike designed by you, to your taste, unlike any other. But it is also a project where it is easy to overspend, stall halfway or end up with a bike you cannot ride on the road. This guide helps you make the right decisions in the right order.
1. Choose the right donor bike
Everything starts with the donor. Before you fall for the first bike you see, think about the style you want: sixties British, seventies Japanese, something more modern? Then look at the practical points that will make your life easier:
- Parts availability: the more popular the model, the easier and cheaper spares and accessories will be.
- Frame line: a straight top tube running from the tank to the tail is the basis of the cafe racer silhouette.
- A healthy, well-known engine: a simple, reliable motor beats an exotic one nobody can fix.
- Clean paperwork: complete registration documents and a matching frame number. A bike without papers can become a very expensive paperweight.
Some of the most popular donors are the Honda CB750, BMW boxers such as the BMW R80, the Triumph Bonneville, the Yamaha SR500, the Kawasaki W650 and the Moto Guzzi V7. You will find a buyer's guide for each in our model guides, with their weak spots and what to check before you pay. Harley-Davidson Sportsters and the Kawasaki W800, which already looks very classic from the factory, are also common choices.
2. Decide on the style before you buy anything
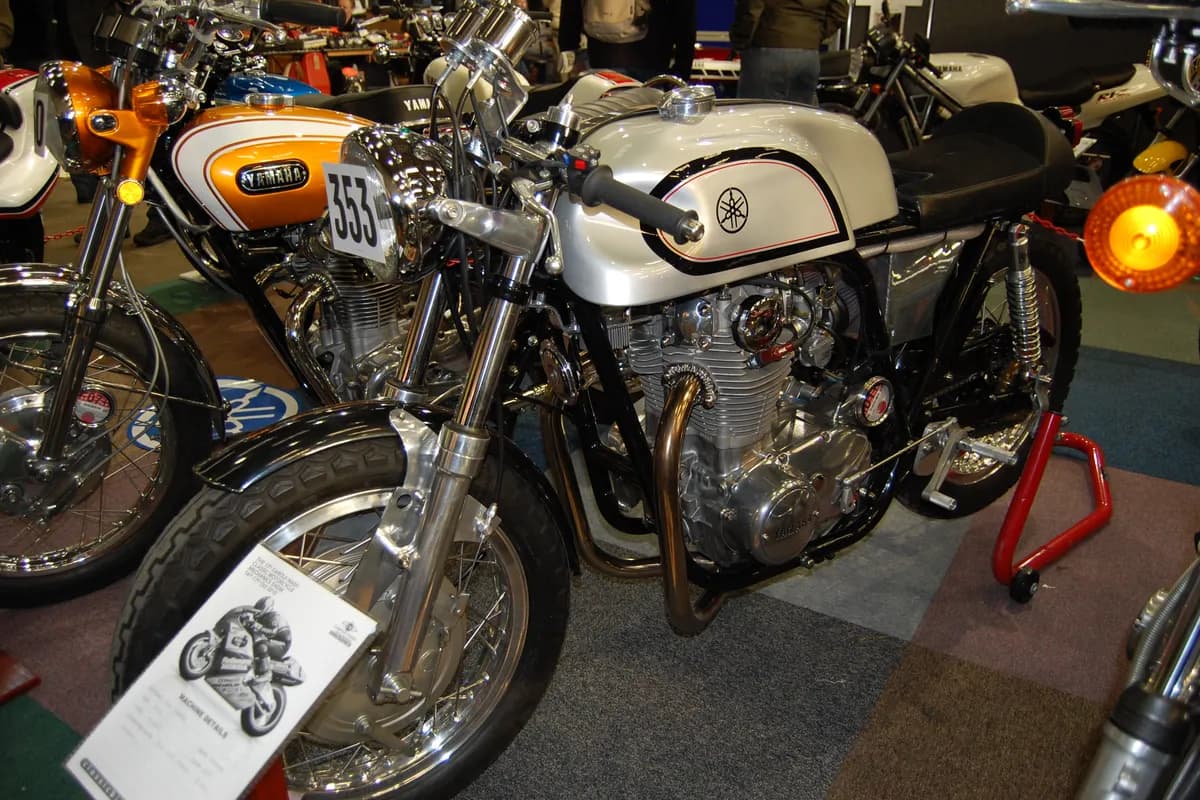
Your cafe racer will reflect who you are, so take time to decide what you want. Save photos of bikes you like, study the details (tank, seat hump, bars, wheels, colours) and sketch it, even by hand. Get inspired by our builds and the projects in the cafe racer category. A clear picture of the end result stops you buying parts that will not fit.
3. Set a realistic budget
The budget depends mostly on the condition of the donor and how far you want to take the build. Use prices from shops and second-hand marketplaces as a guide, and do not forget any of these:
- The donor bike and its registration transfer.
- "Invisible" mechanics: tyres, brakes, chain and sprockets, bearings, seals, fluids and an engine service.
- Style parts: tank, seat, bars, headlight, exhaust, indicators.
- Wiring, paint and upholstery.
- Any tools you do not own.
- Getting the modifications approved and the bike inspected.
- Labour, if you are not doing it all yourself.
Ask a trusted mechanic for advice before you finalise the numbers: beginners always forget something. And keep some money aside for surprises, because a bike that is decades old always has a few.
4. Parts: where and how to buy them
Today it is easy to find almost any part for a cafe racer: specialist shops, marketplaces such as eBay, breakers' yards and classic parts fairs. In the UK, birthplace of rocker culture, autojumbles are a real tradition and well worth a visit if you get the chance. One tip: whenever possible, buy road-approved parts (with an E mark in Europe). They will save you paperwork and headaches.
5. Think about road legality from day one
Most people leave this until the end, and that is a mistake. Much of what makes a bike look like a cafe racer counts as a modification in many countries: a cut subframe, new bars, a different exhaust, headlight, indicators, wheels or suspension. Each has its own requirements, and some parts or solutions simply cannot be approved. Check your country's rules before you buy parts, and read our homologation section for the basics.
6. Build it yourself or have it built?
If you commission a workshop, stay involved: check progress, ask questions and make sure the result matches what you have in mind. If you build it yourself, it will take longer but it is far more rewarding. You do not need to be an expert mechanic: workshop manuals, forums and videos for your model hold a wealth of information. You will, however, need space to work, the right tools and, ideally, a trusted mechanic to call when you get stuck.
Work methodically: photograph everything before you strip it, keep fasteners in labelled bags and use the correct torque settings. Leave the cosmetics until last: first make sure the bike stops, steers and starts as it should.
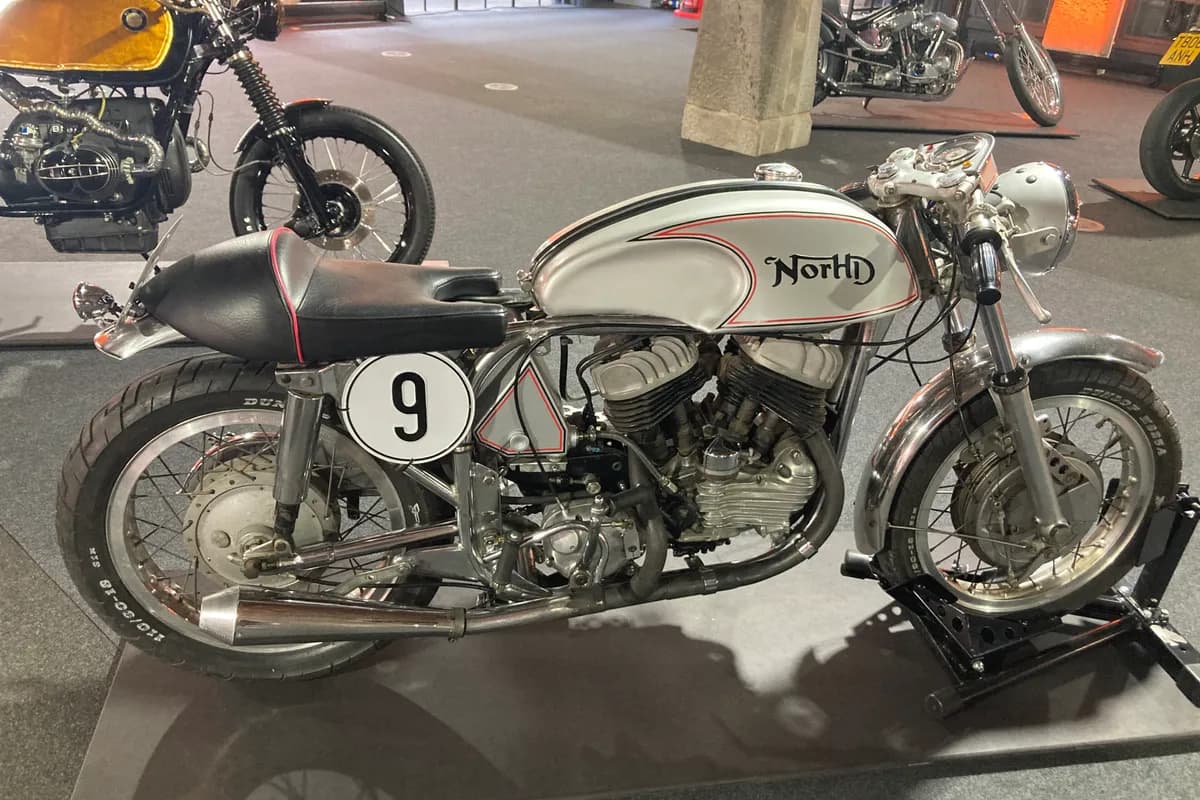
Building a cafe racer is a long road, but every weekend in the garage is worth it. In the meantime, you can design yours in our free app Cafe Racer Garage. Have you started yet?
Photos: cover, Ronald Saunders (CC BY-SA 2.0); Yamaha cafe racer, Ronald Saunders (CC BY-SA 2.0); featherbed cafe racer, RedMax Speed Shop (CC BY-SA 2.0). Wikimedia Commons.